Ceramic Teapot

teapot Teapot by Kazem Arshi

 For my wheel throwers: making a teapot combines everything you’ve learned so far about using the wheel to throw clay. It’s a challenging exercise, and it may require several tries to get it right. Don’t give up! If you end up making a few nonfunctional teapots, you can always turn them into pieces of sculpture.

teapot9

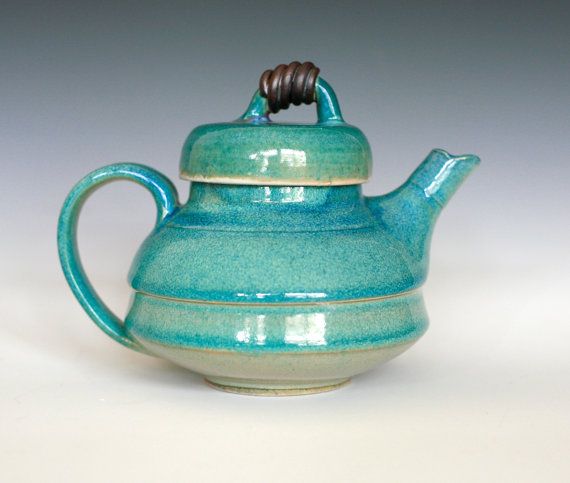
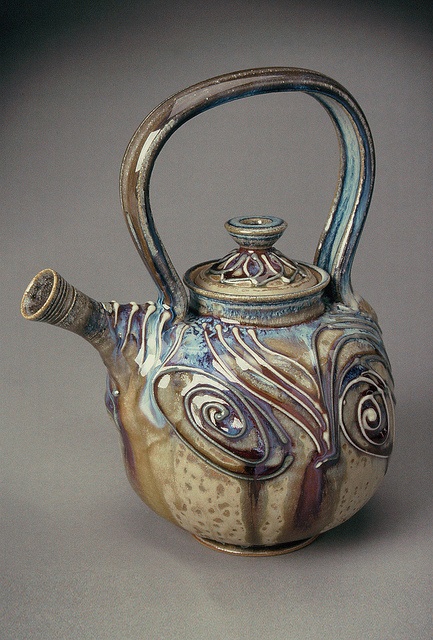
 Teapot by Sticks & Stones Studio

Planning Your Teapot

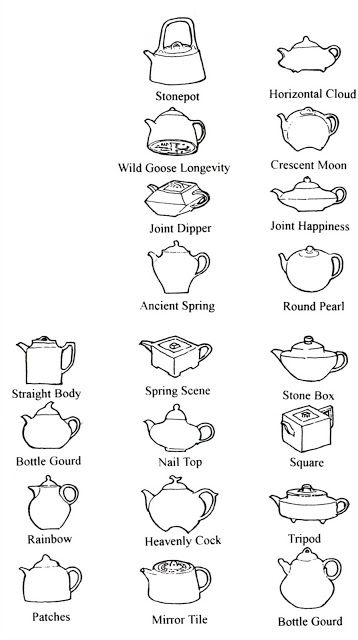
Before you begin, decide on your desired teapot shape. It can be squat, tall, narrow, or cone-shaped. Make a simple drawing of the shape and outline the profile. Then sketch a lid. As you consider your ideas about a teapot, ask yourself:

  • Will the lid be flat or domed?
  • Will it rise out of the pot or sink into the opening?
  • What type of knob will it have – thrown or hand-built?
  • Does the lid shape complement the form?
  • Do you want to place the handle over the lid, on top of the shoulders of the pot – or on the side, opposite the spout?
  • What size spout complements the shape?
Post sketches to your blog!

teapot4

 Teapot by Marion Angelica

Making Your Teapot

teapot parts

10991385_10103309665620600_8543969071467075593_n

10994173_10103310745346820_1695107647393269597_n

teapots

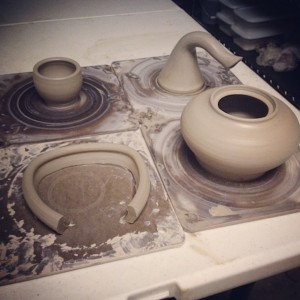
Make sure you use the same clay for every part of your teapot: body, lid, spout, and handle. Throw or form these pieces all at the same time so that they will shrink at the same rate, fit together better, and the measurements will be more accurate. You can assemble the pieces at another time, but remember to cover them in plastic to keep them workable.

teapot3

 Teapot by T. Jeffreys

  • Throw or hand-build the body of the teapot.
  • Measure the diameter of the opening and create a flanged lid.
  • Pull or throw the handle. Shape it and allow it to stiffen.
  • Throw or hand-build the spout (and a few extras).
  • Let all pieces stiffen to leather-hard.
  • Trim or attach a foot ring on your pot before you attach the spout and handle.
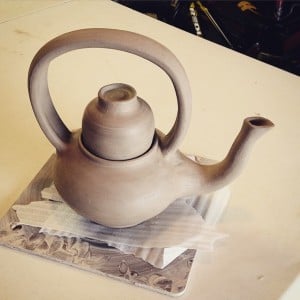
  • Hold the spout against the side wall and adjust its fit.

teapot5

 Caravan Teapot by Pheasant

Note: Make sure the top of the spout is as high as or higher than the top of the pot. If the spout is too low, tea will spill out when the pot is filled.

teapot18

 “Lip Service Teapot” by Dixie Biggs

  • Trace around the spout on the wall.
  • Supporting the wall, cut a series of holes within the outline.
  • Smooth rough edges with a damp sponge.
  • Score and slip the base of the spout and the traced outline on the pot.
  • Press the two pieces firmly together and smooth around the join. You can reinforce the join with a thin coil and smooth it with your finger or the edge of a wooden tool.
  • Balance the placement of the handle.
  • Score, slip, and join the handle to the pot.
  • Let your teapot dry slowly with the lid in place.

16638097178_7c52851ec3_k

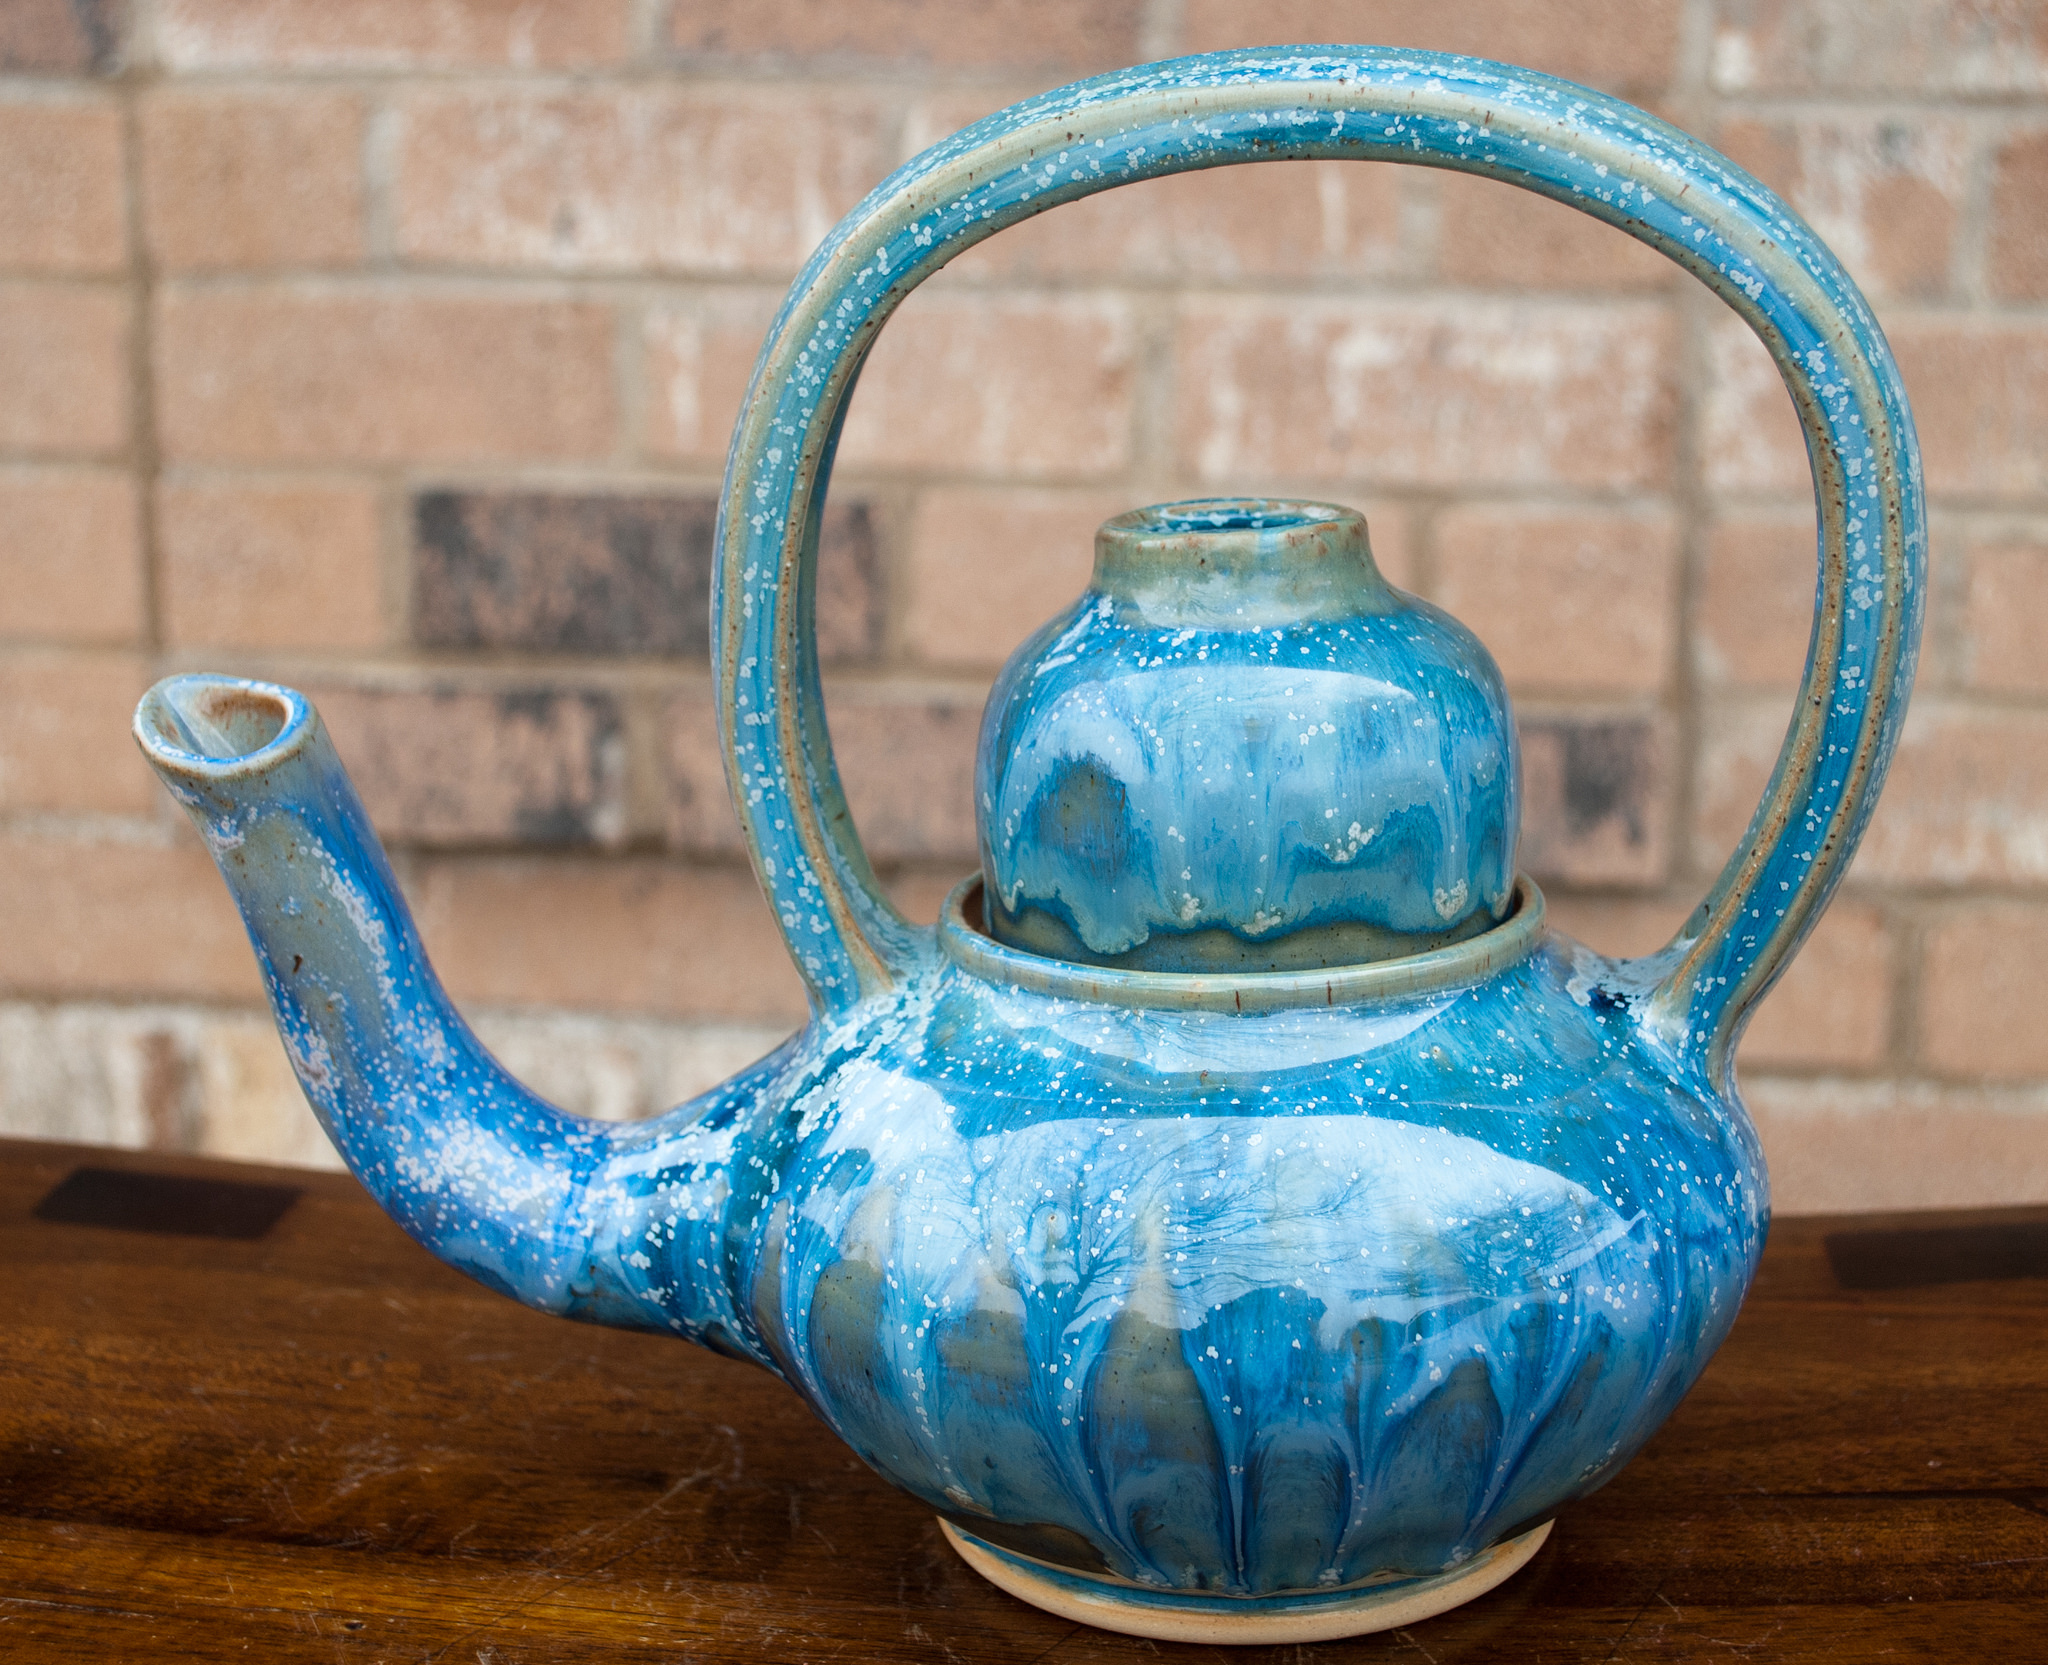
Teapot by Ms. Long – lid also doubles as a tea cup!

Post your GREENWARE to your blog before turning it in to be fired.
  • Bisque fire, decorate, and glaze fire.

teapot8

 Teapot by Natalya Sots

More Teapot Ideas from Pinterest
How to Hand-build an Expressive Teapot Set Using Soft Slabs
How to Make an Inverted Strainer
The 30 Minute Teapot

Art I: Intro to Ceramics

Printable Vocabulary Sheet

Classroom Rules

Clay Vocabulary

Ceramics: pottery or clay sculpture fired at high temperatures in a kiln to make them harder and stronger.

Kiln: A specially designed oven capable of reaching temperatures over 2000 degrees F (can be gas, electric, or wood-fired)

Clay: moist, sticky dirt (mug) composed of fine-grained minerals, which can be shaped when wet and hardened when dried or heated (rock material)

Tools: mainly used to shape clay

Types of Clay

Earthenware (1800-2100 degrees F): clay fired at low temps, often contains iron and has a porous surface when fired.
Stoneware (2200-2400 degrees F): a buff, gray or brown clay which is heavy, opaque, and highly plastic in nature with a high firing temperature.
Porcelain (2200-2550 degrees F): a very fine white clay with a high firing temperature, non-porous, strong, and translucent when fired.

Tools

Hands, Loop Tools, Modeling Tools, Ribs, Sponge, Wire Clay Cutter

Wheel Throwing

forming pottery using a wheel powered by a foot, a stick, or an electronic motor

Slip Casting

a method of creating pottery using molds to reproduce forms

Hand-building Techniques

Pinch Method: fundamental to manipulating clay, pressing the thumb into a ball of clay and drawing the clay out into a pot by repeatedly squeezing the clay between the thumb and fingers
Coil Method: long, snake-like ropes of clay that are used in making pottery; involves building the walls of a form with a series of coils into the required shape; surface can remain coil-textured or they can be smoothed
Slab Method: a form is built up by joining shapes cut from thick sheets of damp clay

Decorating Methods

Glaze: a glass coating that is especially made to stick onto ceramic surfaces
Underglaze: colored slips applied beneath a glaze layer
Stain: raw pigments, can be water or acrylic based
Burnishing: rearranging and compressing clay particles by rubbing the surface of a clay object until it becomes glossy

Stages of Clay:

Greenware: clay that has not been fired and still able to be made back into mud and recycled to use again.

Stages of Greenware

Slip – wet and soupy
Plastic – moldable without cracks
Leatherhard – clay is dry enough to maintain form and wet enough to be smoothed, carved, and added to.
Bone dry – clay has dried as much as possible before first firing and is extremely brittle. Clay is most fragile at this point!

Bisqueware: first firing where all remaining water molecules are released from the clay transforming it into ceramic (Why are air bubbles dangerous during a bisque fire?)

Glazeware: second firing where glaze has melted into the ceramic surface making it non-porous

Score, Slip, and Seal

When joining two pieces of clay, you must always remember the 3 S’s.
Score: roughening up the surface of the clay to act like Velcro
Slip: liquid clay or water used as “glue” for attaching
Seal: to press the pieces of clay firmly together where they are joined

Clean-up

Hazards of clay dust: silica particles = EXTREMELY tiny pieces of glass, which become airborne easily and inhaled – extremely hazardous to lungs!
Solution: WET clean-up prevents dust from building up and becoming airborne. Use wet sponges, spray bottles, wet rags