Printable Vocabulary Sheet
Classroom Rules
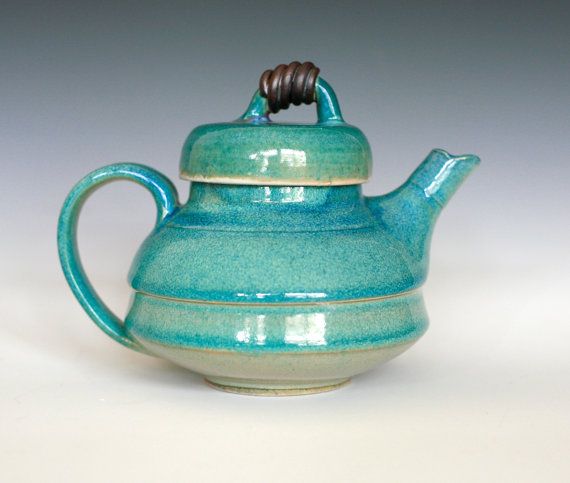
Clay Vocabulary
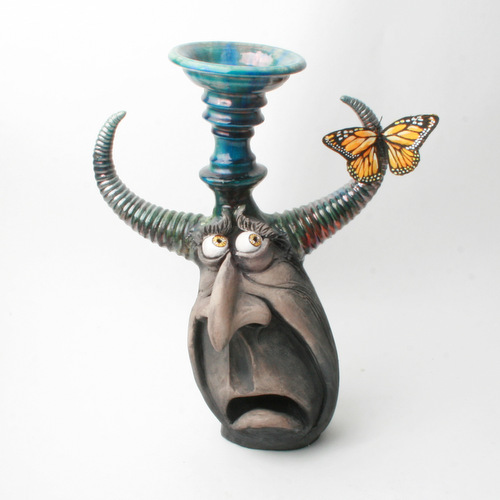
Ceramics: pottery or clay sculpture fired at high temperatures in a kiln to make them harder and stronger.
Kiln: A specially designed oven capable of reaching temperatures over 2000 degrees F (can be gas, electric, or wood-fired)
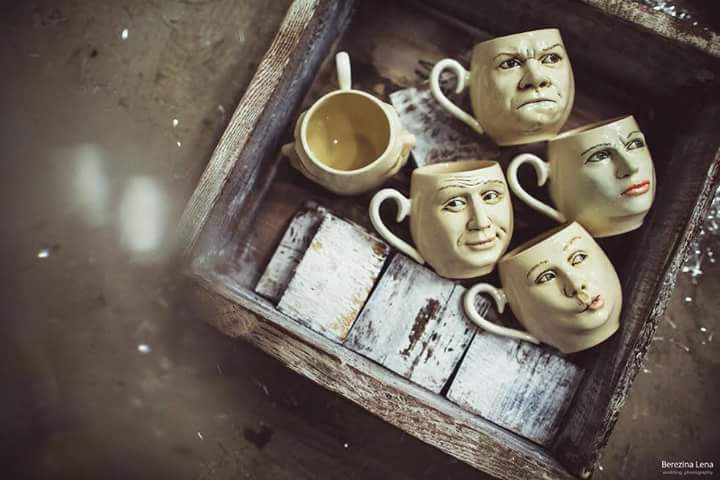
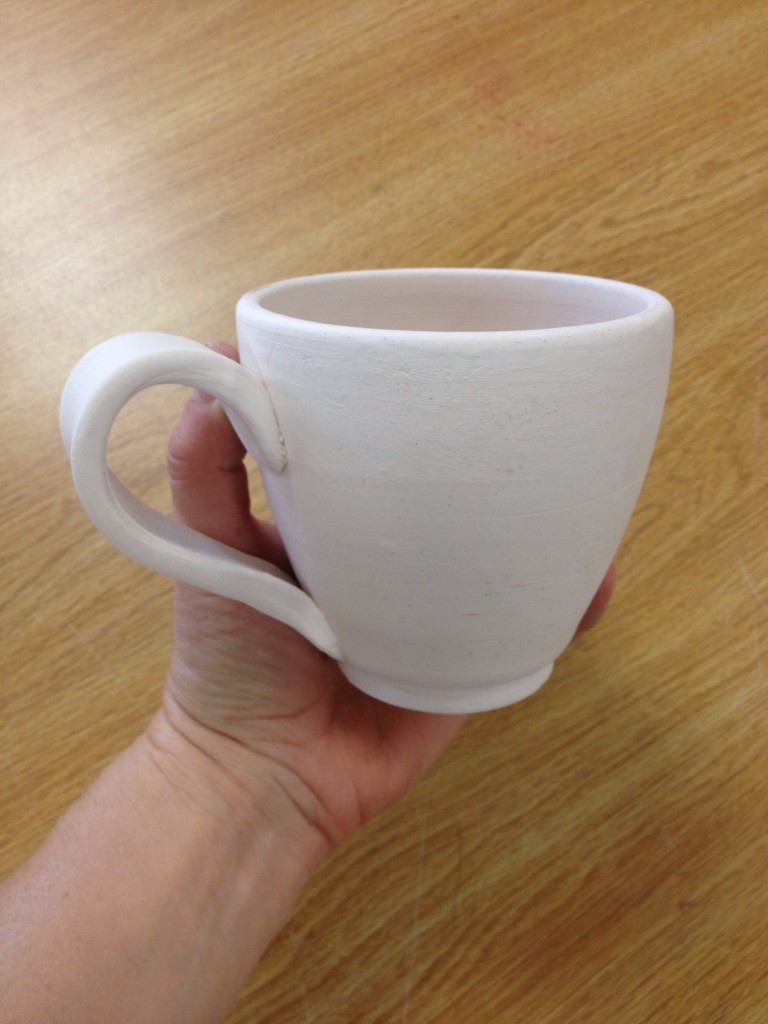
Clay: moist, sticky dirt (mug) composed of fine-grained minerals, which can be shaped when wet and hardened when dried or heated (rock material)
Tools: mainly used to shape clay
Types of Clay
Earthenware (1800-2100 degrees F): clay fired at low temps, often contains iron and has a porous surface when fired.
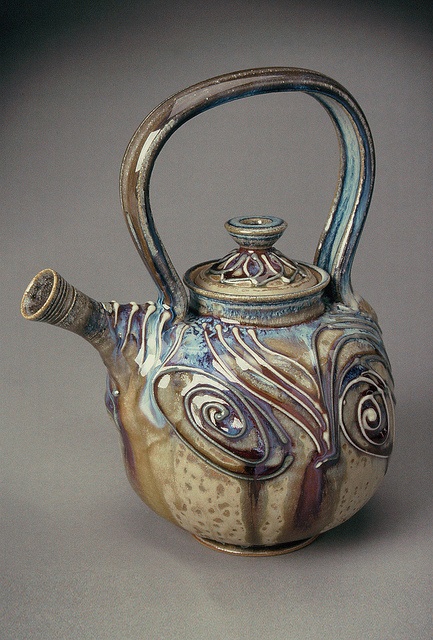
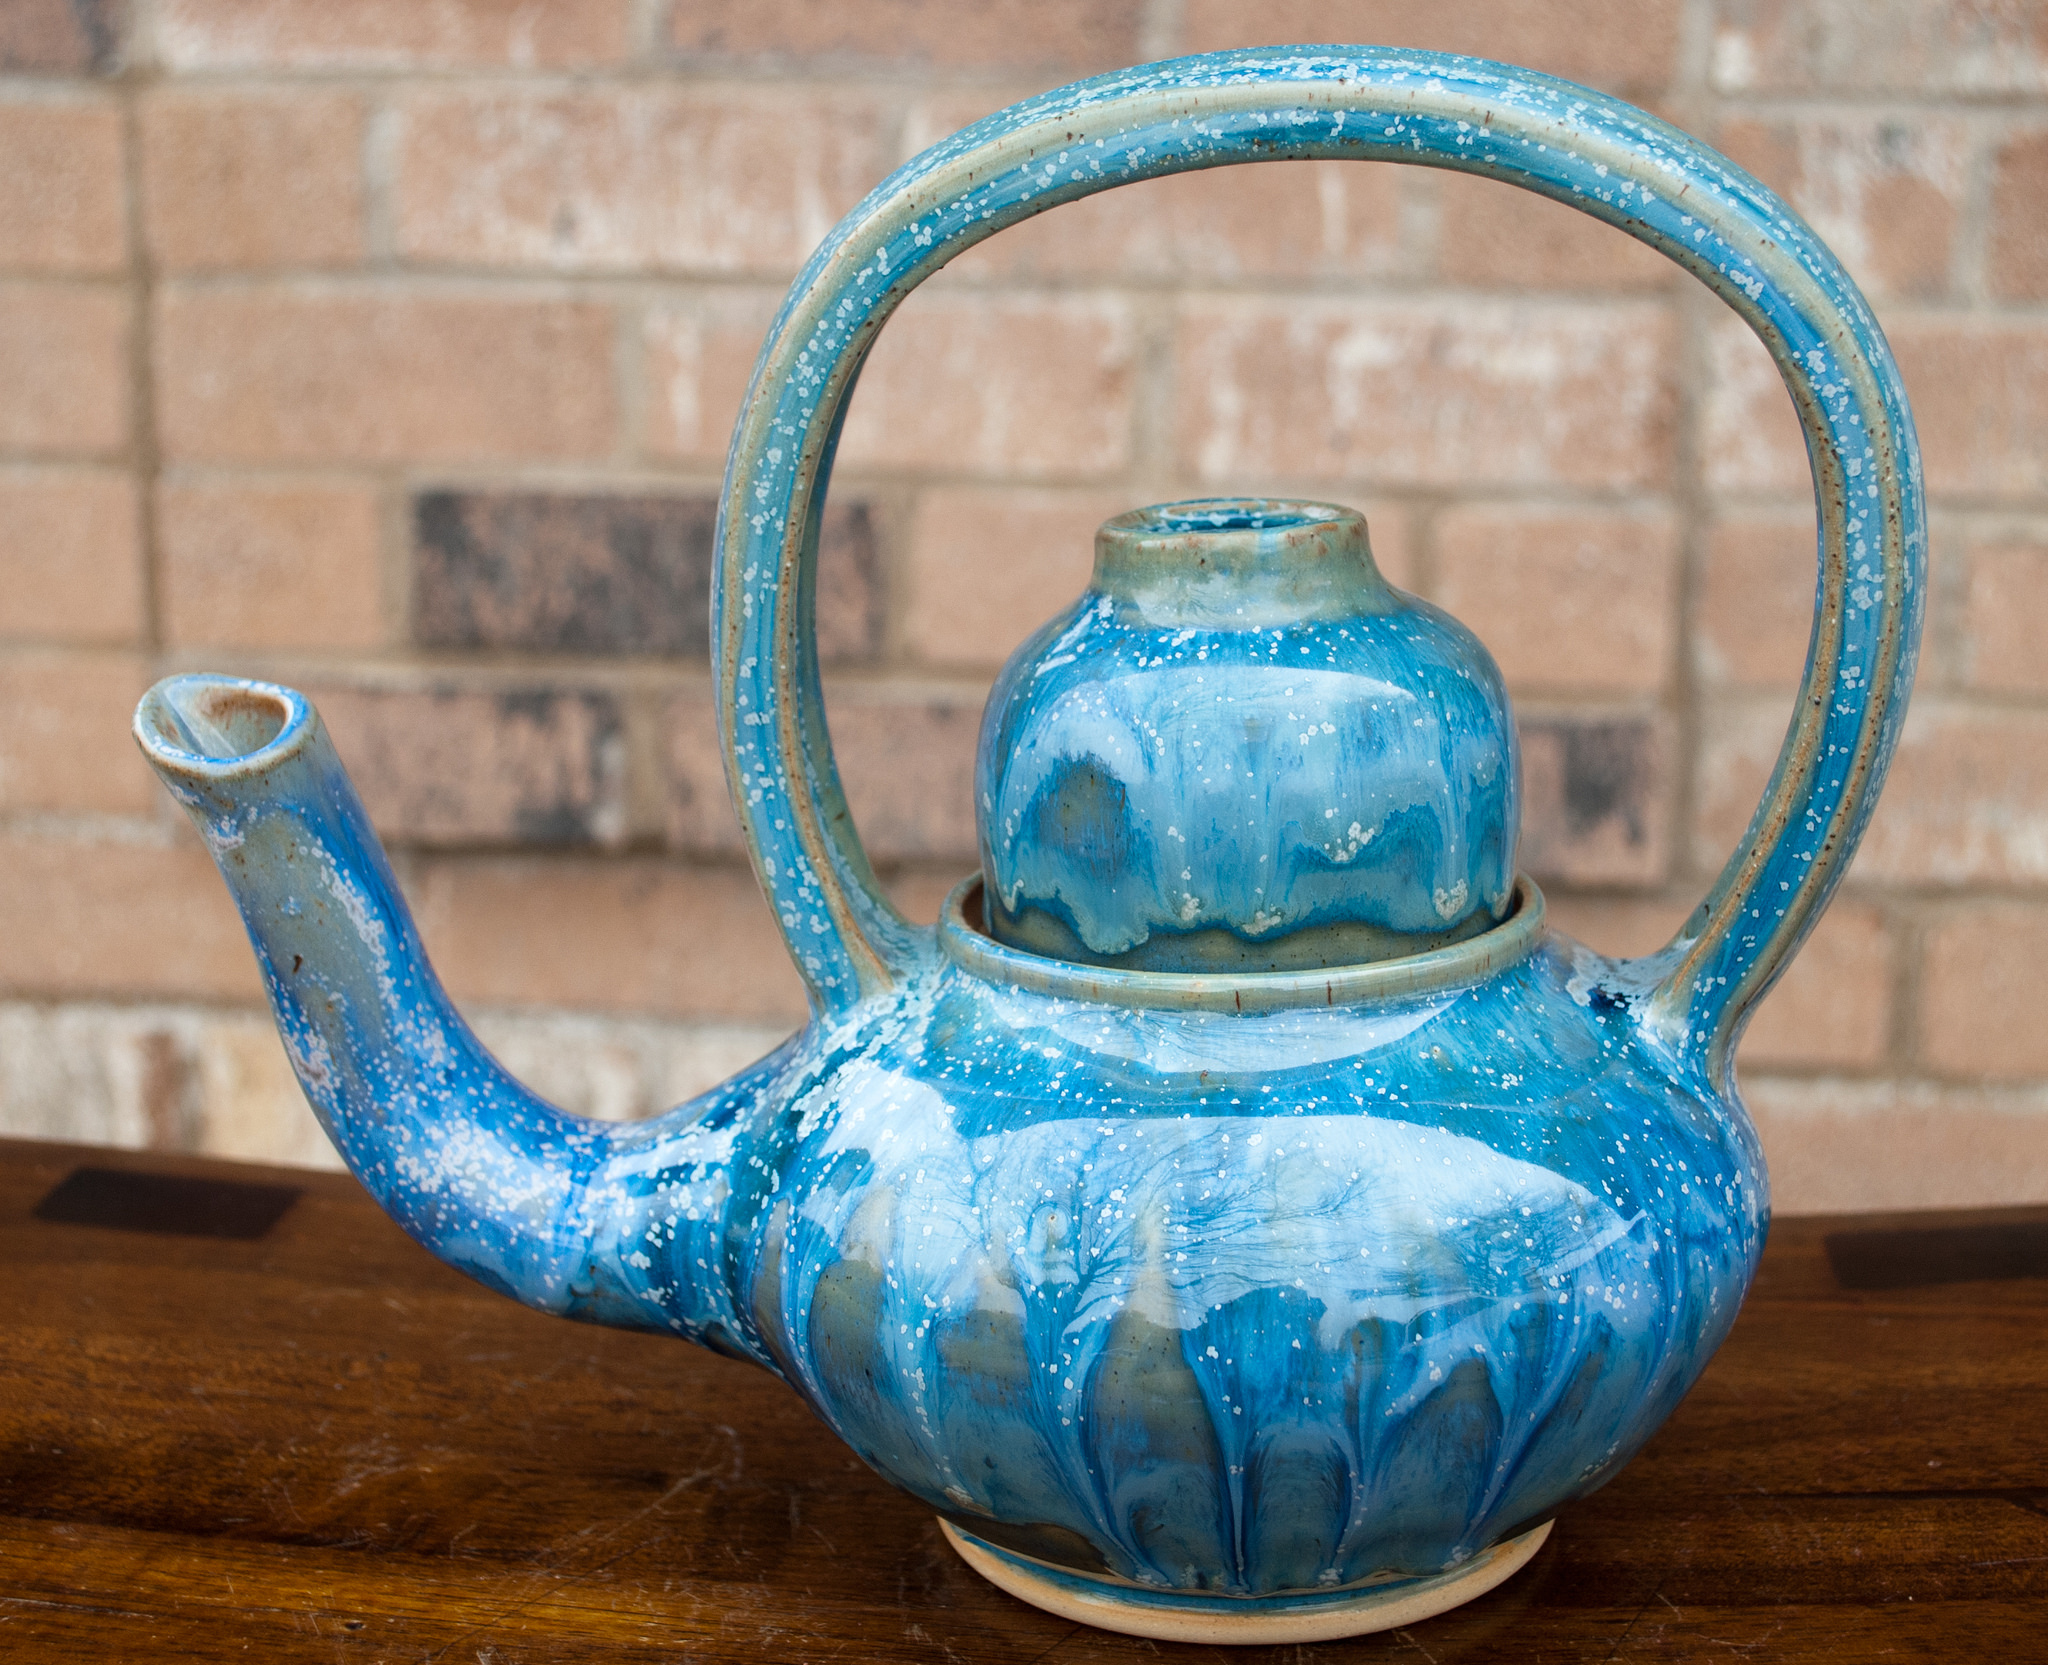
Stoneware (2200-2400 degrees F): a buff, gray or brown clay which is heavy, opaque, and highly plastic in nature with a high firing temperature.
Porcelain (2200-2550 degrees F): a very fine white clay with a high firing temperature, non-porous, strong, and translucent when fired.
Tools
Hands, Loop Tools, Modeling Tools, Ribs, Sponge, Wire Clay Cutter
Wheel Throwing
forming pottery using a wheel powered by a foot, a stick, or an electronic motor
Slip Casting
a method of creating pottery using molds to reproduce forms
Hand-building Techniques
Pinch Method: fundamental to manipulating clay, pressing the thumb into a ball of clay and drawing the clay out into a pot by repeatedly squeezing the clay between the thumb and fingers
Coil Method: long, snake-like ropes of clay that are used in making pottery; involves building the walls of a form with a series of coils into the required shape; surface can remain coil-textured or they can be smoothed
Slab Method: a form is built up by joining shapes cut from thick sheets of damp clay
Decorating Methods
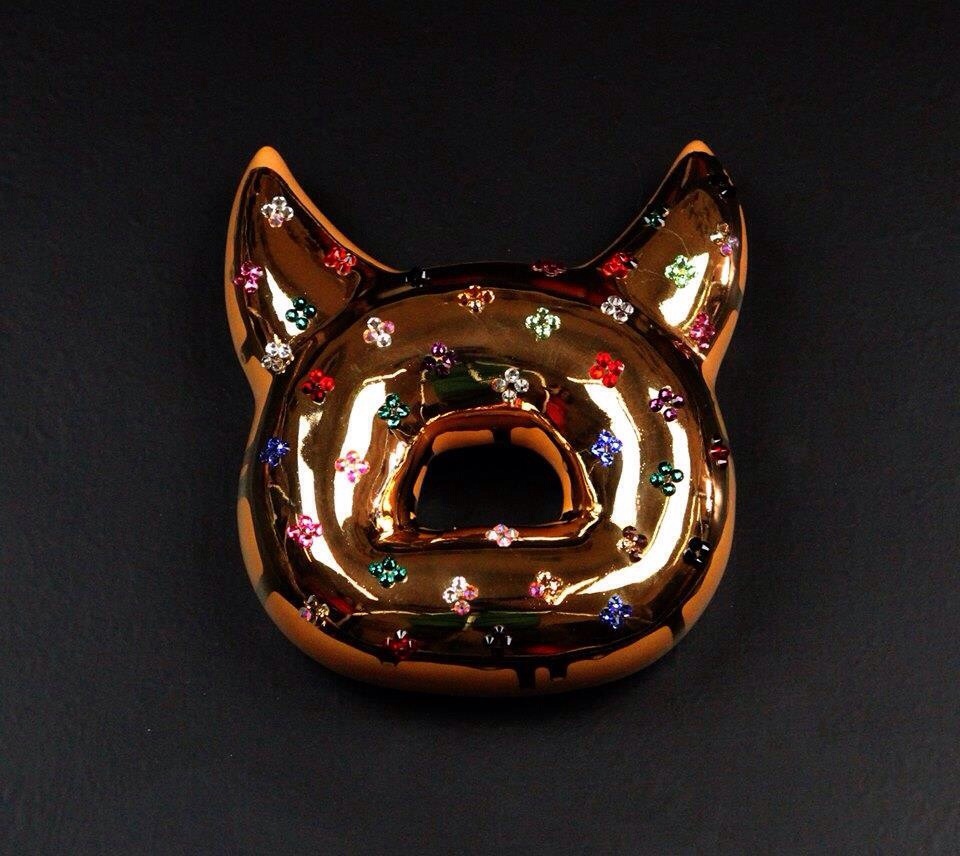
Glaze: a glass coating that is especially made to stick onto ceramic surfaces
Underglaze: colored slips applied beneath a glaze layer
Stain: raw pigments, can be water or acrylic based
Burnishing: rearranging and compressing clay particles by rubbing the surface of a clay object until it becomes glossy
Stages of Clay:
Greenware: clay that has not been fired and still able to be made back into mud and recycled to use again.
Stages of Greenware
Slip – wet and soupy
Plastic – moldable without cracks
Leatherhard – clay is dry enough to maintain form and wet enough to be smoothed, carved, and added to.
Bone dry – clay has dried as much as possible before first firing and is extremely brittle. Clay is most fragile at this point!
Bisqueware: first firing where all remaining water molecules are released from the clay transforming it into ceramic (Why are air bubbles dangerous during a bisque fire?)
Glazeware: second firing where glaze has melted into the ceramic surface making it non-porous
Score, Slip, and Seal
When joining two pieces of clay, you must always remember the 3 S’s.
Score: roughening up the surface of the clay to act like Velcro
Slip: liquid clay or water used as “glue” for attaching
Seal: to press the pieces of clay firmly together where they are joined
Clean-up
Hazards of clay dust: silica particles = EXTREMELY tiny pieces of glass, which become airborne easily and inhaled – extremely hazardous to lungs!
Solution: WET clean-up prevents dust from building up and becoming airborne. Use wet sponges, spray bottles, wet rags