
Your project is to make a double pinch pot animal. We will begin by practicing making pinch pots for the first couple days.

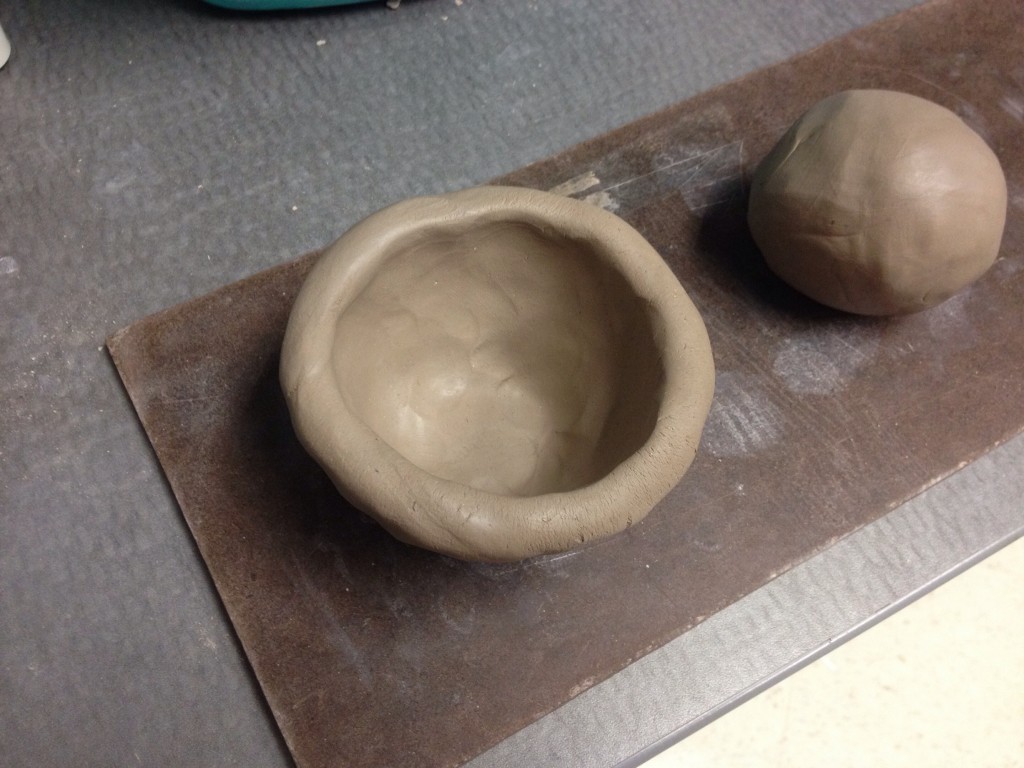
Begin with two solid, wedged/pugged spheres of clay about the size of your fist.

Push your thumb down into the middle a little past mid-way.

Begin by pinching and squeezing around the bottom of the ball of clay while turning the clay with the other hand.

Be sure to work the bottom thickness out first and then slowly work your way up the sides leaving the rim nice and thick.

After you complete your pinch pots, cut them in half with a wire tool and check for thickness.


The thickness of the pinch pots should be no bigger than your pointer finger and no thinner than your pinky.
Next, you will create a sketch of your animal. Remember that thin pieces of clay will break easily, and if your clay is too thick, it might explode or break apart in the kiln. For Pre-AP students, you will design an animal with an element of surprise.
Keep in mind these items to include in your piece:
- Find a photo reference(s) to get inspiration for your animal from, but not copy. Site your photo when you post it to your blog
- Surface texture – fur, feathers, skin, wrinkles, etc. Not just a smooth surface.
- Your sketch needs to include 3 views of your idea since it is a 3-dimensional object.
Links to Examples of Double Pinch Pot Animals:
My Pinterest Board for Ceramic Animals
Double Pinch Pot Animals – with elements of surprise
Once you are finished with your sketch, you will create a post for your double pinch pot animal and post your sketch and photo reference to your blog post.
Here is one way to make an animal out of clay.

Start with a ball of clay about the size of your fist.

Shove your thumb down into the ball a little past the mid-point, but not too far or the bottom might be too thin.

While turning the clay, squeeze from the bottom of the ball first, working your way up the walls and to the rim. Be care not to squeeze the rim too thin. I usually just leave it alone and it stretches out to the correct thickness as the ball of clay expands into a pinch pot.

Create two pinch pots about the same size.

They should fit together nicely. Be sure the rims are not too thin so you have something to score and a flat surface to attach.

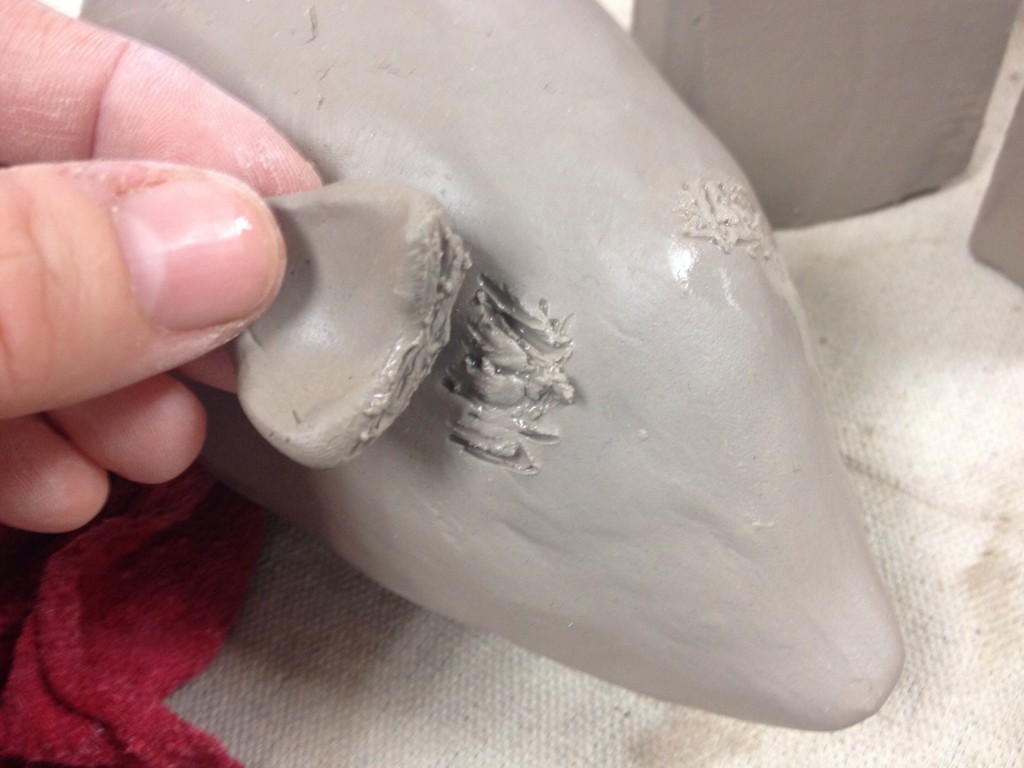
Score the rims of each pinch pot.

Both pinch pots should be scored, then add slip/water and press together.

Once they are pressed together, use a smoothing tool to hide your seam.

You can also add a coil of clay to the seam in order to add insurance that you will have clay to smooth out around the seam to hide it.

You should have a larger ball of clay that is now hollow, but no air holes should be in the clay just yet.

Shape the clay by tapping it on the table or with your hands in a circular fashion. Think of what your animal will be while shaping the clay and shoot for that shape.
Add details like ears. Remember to score, slip, and seal.

Remember to use your tools to smooth out those seams.
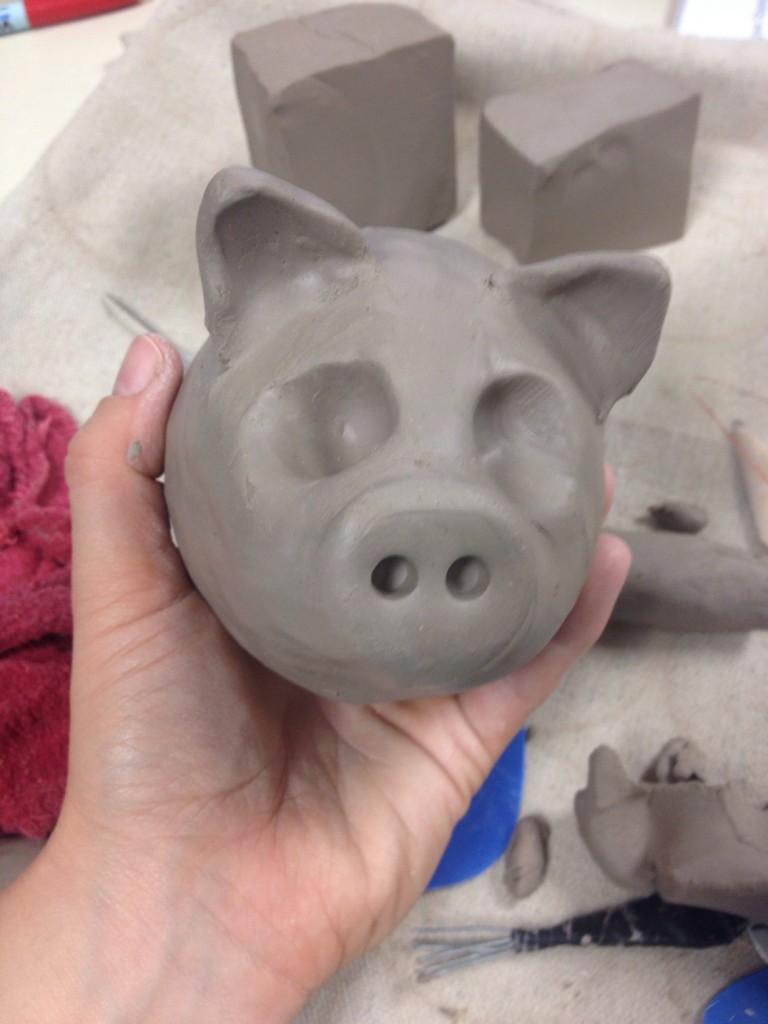
Create eye sockets by pushing the clay in with your fingers.

Score, slip, and seal some small spheres into the eye sockets and add a coil to the top and bottom of the eye to create eyelids. Smooth out only the exterior seams.

Create a mouth with your tools.

Add some pupils to the eyes to make your animal come alive.

Score, slip, and seal the bottom of your animal to add the legs/feet. Remember to not make anything thicker than one inch.

If the legs are a little thick, use the end of your small needle tool or a wooden dowel to add a hole in the bottom. This insures the legs are adhered well and it also gives the clay space to release any trapped moisture.

If adding a tail, make sure you have no small pieces of clay sticking off your animal. Lay those long, skinny coils of clay against the body of the animal or risk it breaking off before it even reaches the kiln.

Add details to the face like eyebrows or texture on the body for fur, skin, wrinkles.
!!!LAST and VERY IMPORTANT STEP: Poke a hole into each hollow area so that moisture can be released and your piece will stay intact during firing in the kiln!!!
Don’t forget to put your NAME and PERIOD on the bottom!
Great video on sculpting animal heads: