Today we will practice drawing in one-point perspective with a geometric form. We will learn these vocabulary words: horizon line, vanishing point, converging lines, parallel lines, geometric shapes/forms.
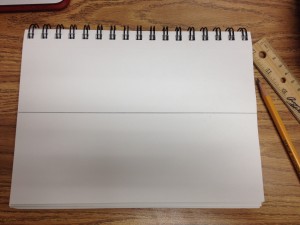
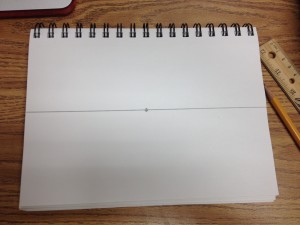
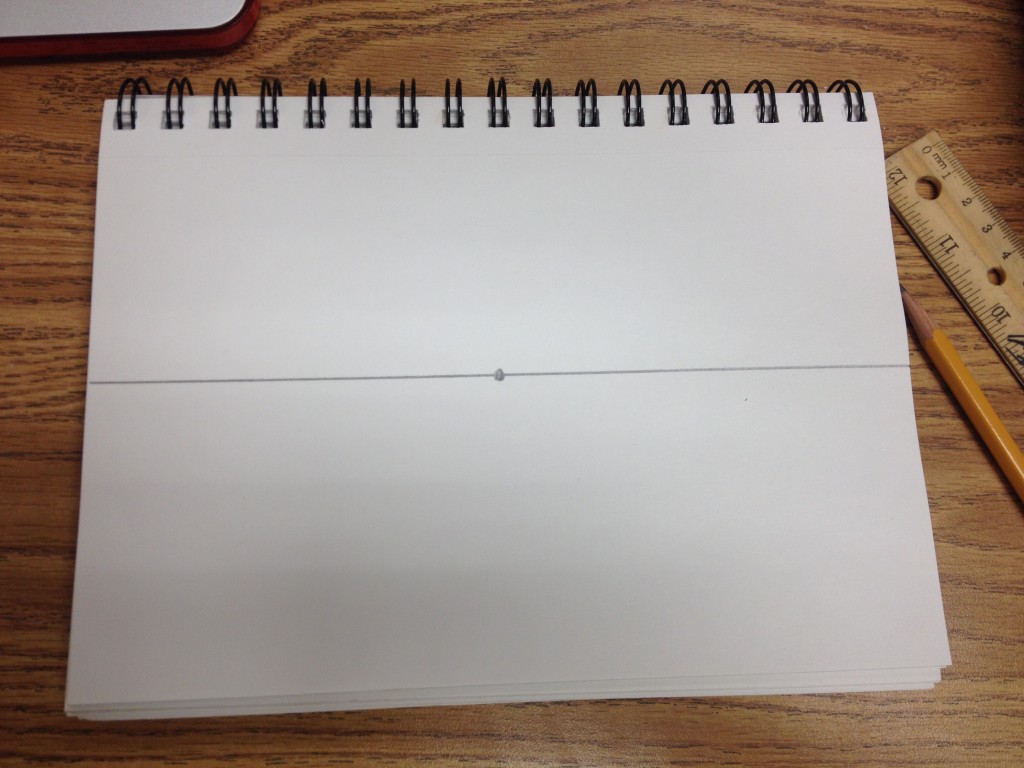
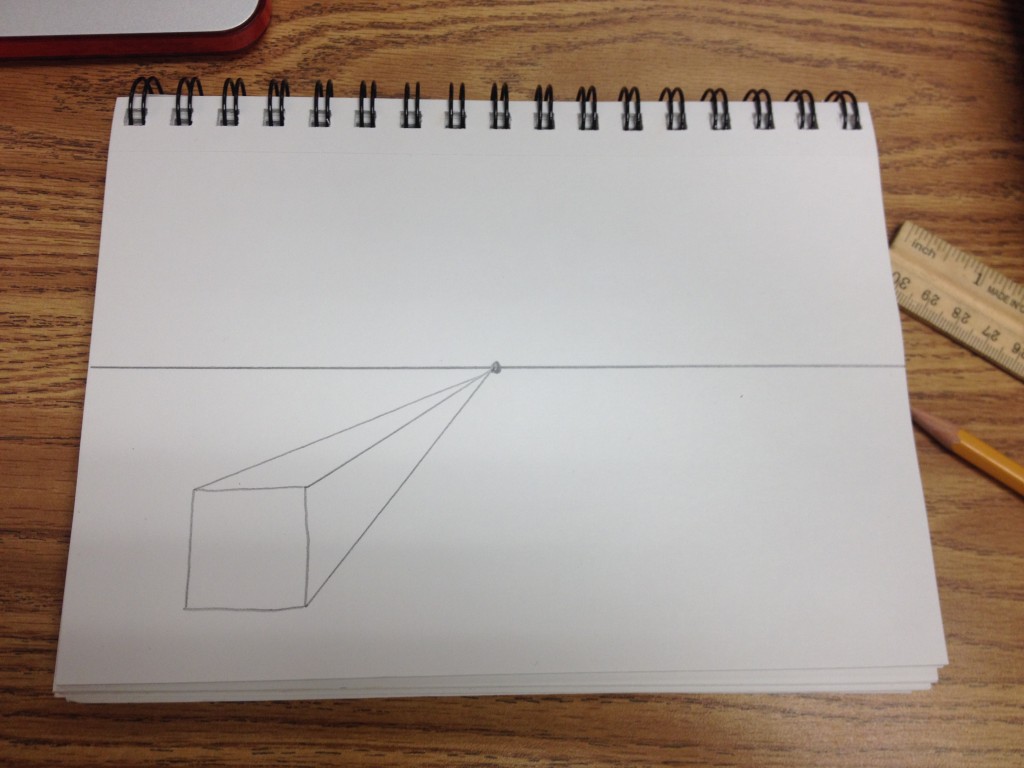
- We will begin our drawings with a horizon line, which is a straight, horizontal line, across the entire page. Draw this one in the middle of your paper.
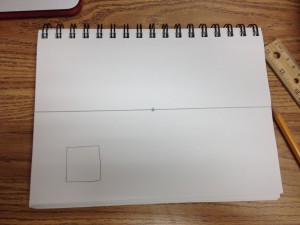
- Place a vanishing point in the center of your paper on the horizon line. This will be where everything will converge.
- Draw the front side of a simple geometric shape (square, rectangle, circle, hexagon, triangle, shapes found in math).
- Connect the closest corners of the shape to the vanishing point with converging lines (the lines that converge at the vanishing point).
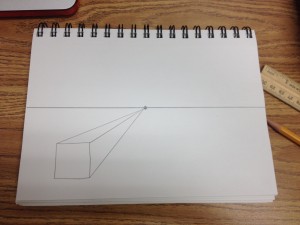
- Complete the back side of your form by keeping the lines parallel (or going in the same direction) to the front side.


For your sketchbook assignment:
Draw a one-point perspective composition: Due Tomrrow
Must include:
- Horizon line
- Vanishing point
- Minimum of 8 geometric objects
- Converging lines made with a ruler
Composition must have at least:
- two objects below the horizon line (bird’s eye view)
- two objects on the horizon line (eye level)
- two objects above the horizon line (ant’s eye view)
- two objects anywhere