Art Critique Questions

At least once a six weeks, we will visit an artist and look at their work and ask these questions in a classroom discussion.

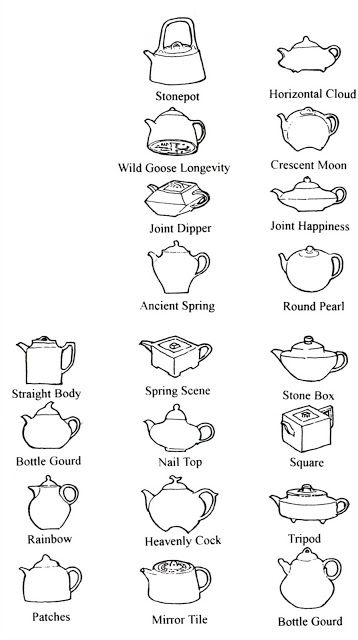
  1. Does it have an identifiable style?
  2. What are the markers or characteristics of its style?
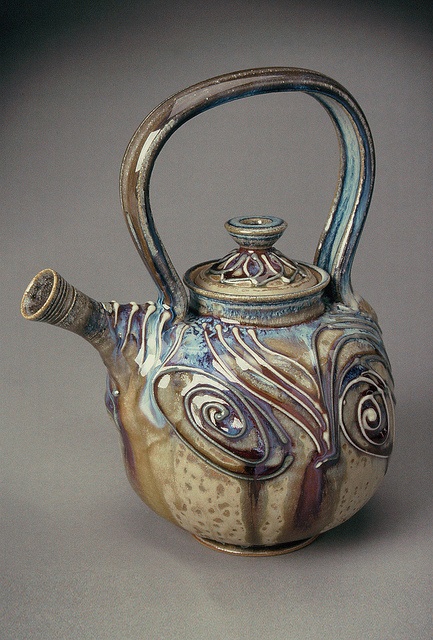
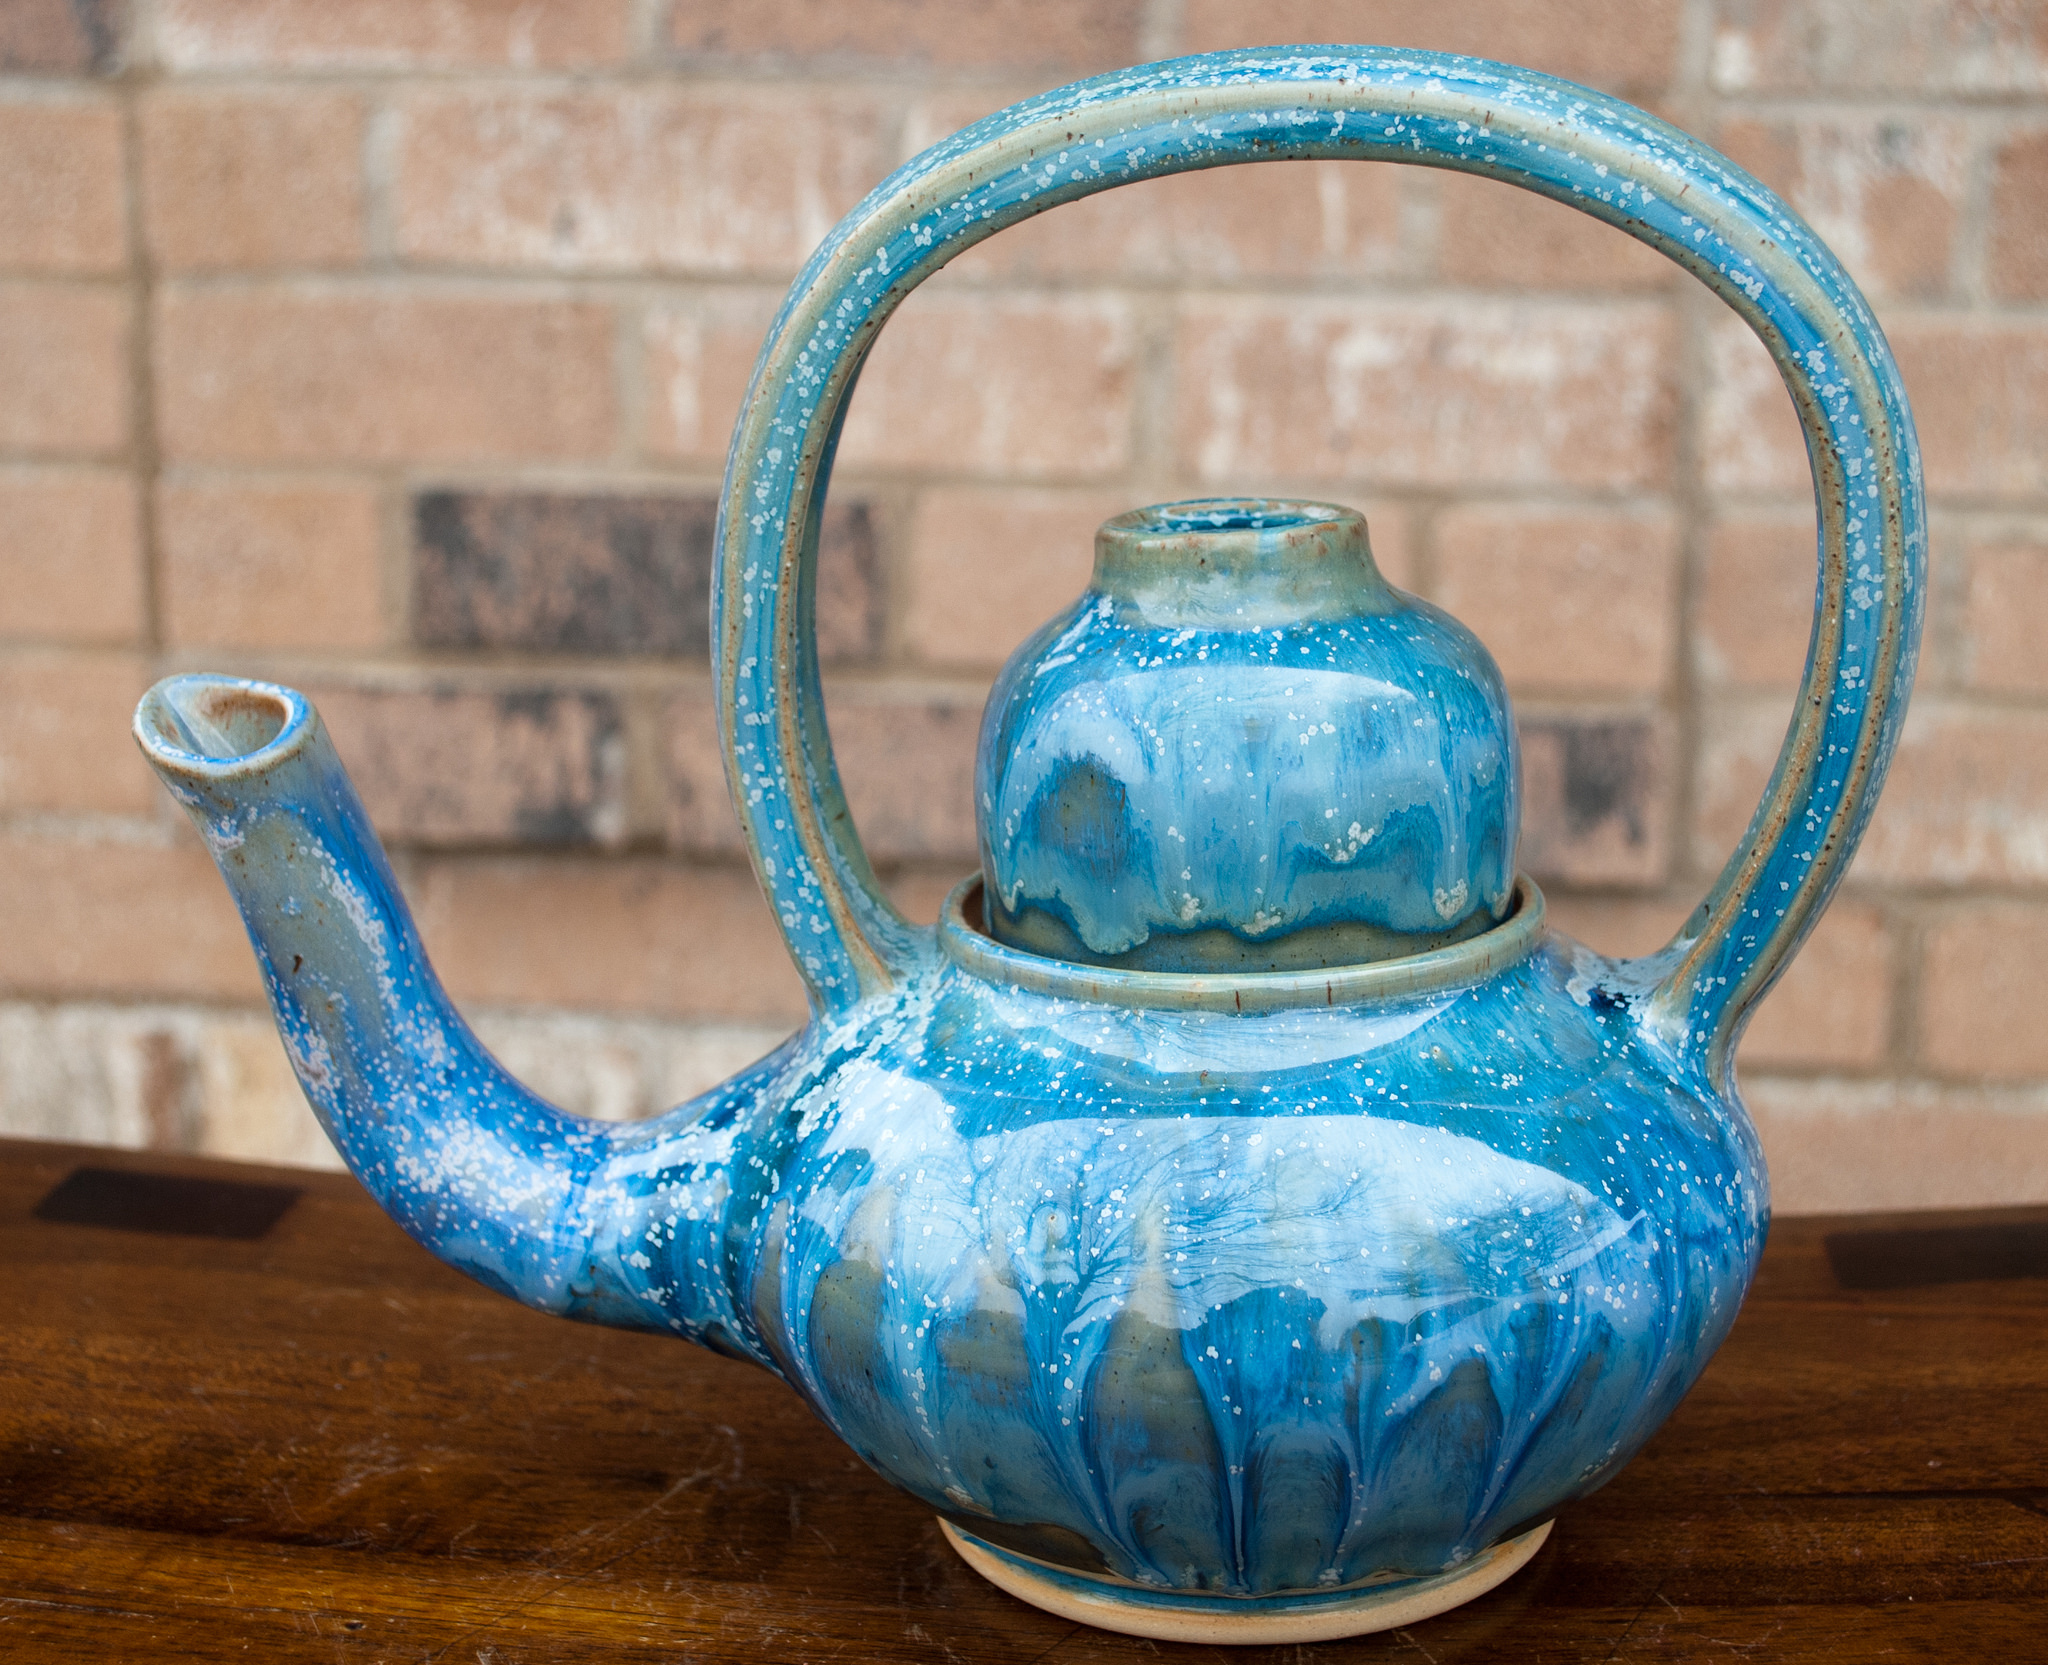
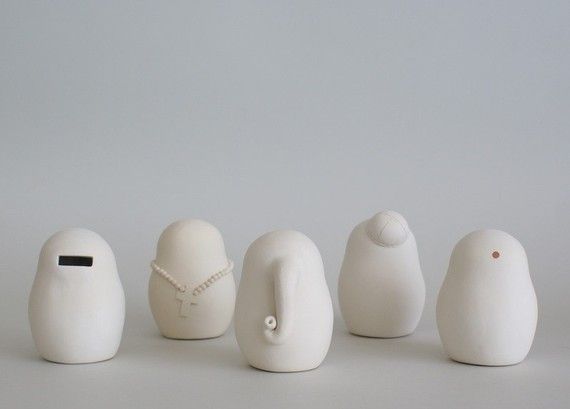
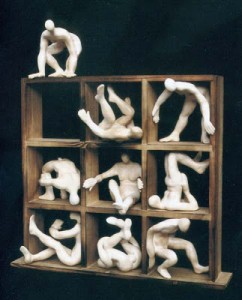
  3. Rate the formal aspects of this work: contrast, line, form, etc.
  4. Is it beautiful, visually interesting, novel, sublime, memorable or exciting?
  5. Is it assaulting, powerful, gutsy or coarse?
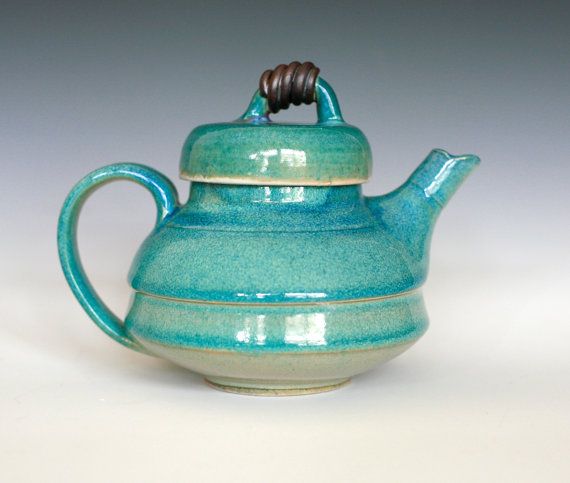
  6. Is it made well; is it well crafted?
  7. Does the quality of craft in the work matter?
  8. Does the work conform to an “expected weight”?
  9. Does that matter?
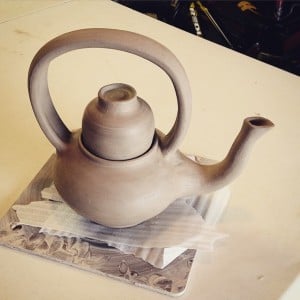
  10. Does the piece make the most of its functional aspect (if it has one)?
  11. Does the work conform to its maker’s intent?
  12. Does that matter?
  13. What if we don’t know the maker’s intent?
  14. Does it exploit universal qualities that would mean something to anyone anywhere?
  15. Does the work benefit or suffer from events that were somewhat outside the artist’s control (such as firing)?
  16. How does that effect the art content of the work?
  17. Does the work express feelings or emotions?
  18. Does it do that clearly?
  19. Do the various parts of the work seem to belong together?
  20. If glaze is the piece’s clothes, how well dressed is this piece?
  21. How would you make this piece better?
  22. Can this piece be made efficiently in quantity?
  23. Is there anything going on with this work that could benefit your own work?
  24. How would we establish a monetary value for this work?
  25. How much money is it worth?  Give it a narrow price range if you can.
  26. Would you buy this piece if you had the money?
  27. How does monetary value relate to aesthetic value in this work?
Print Friendly, PDF & Email

Final Independent Projects

Choose 2 projects from the following list:

(Both projects combined should not exceed 10 lbs.)

Easy (B+):

  1. Animal or Gargoyle: Min. 6 in. tall, hollow, detailed features
  2. Plate with 3 Different Food Items: Min. 8 in. diameter plate, min. 3 different food items, with texture!
  3. Cookie Jar with a Locking Lid: Min. 6 in. tall, include lid w/ keys, knob
  4. Birdhouse – Fun, Funky, Functional: Min. 6 in. tall, w/ an opening & perch, functional!
  5. Natural Landscape/Cityscape (3-D!): Min. 6 in. wide, work from a picture, not your memory!

Medium (A-):

  1. Human Figure in Action: Min. 6 in. tall, must have action, attach to a base
  2. Stylish Shoe: Min. 6 in. tall/wide, realistic proportion and textures!
  3. Ancient Piece of Pottery Replica: Min. 8 in. tall, exact from image, same tech., can alter overall size
  4. Hand-built Teapot (slab, coil, or pinch): Min. 6 in. tall, must have: handle, spout, lid w/keys, functional!
  5. Plane, Train, or Automobile Replica: Min. 6 in. long, must look realistic, consider make and model

Hard (A):

  1. Wheel-Thrown Cereal Bowls, set of 4: Min. 3 in. tall, must match, be similar in shape & functional!
  2. Wheel-Thrown Teapot: Min. 6 in. tall; on wheel: body, spout, & lid w/keys, hand-built: handle; functional!
  3. Abstract Sculpture of 20 Multiples: Min. 6 in., min. 20 identical 3D forms made into 3D sculpture
  4. Series of 3 Coil/Slab/Wheel Vases: Min. 6 in. tall, must have a connecting theme, can be abstract
  5. Portrait Bust (head and shoulders): Min. 9 in. tall, work from images, realistic! Takes 3 weeks! (Counts as 2 projects because of the challenge and quantity of clay). Must watch video for creating a head and the proportions in clay!

Easy, Medium, or Hard:

  1. Original Sculpture (another idea): Min. 6 in. tall, MUST BE PREAPPROVED!

  •  The CONTENT of your piece is up to you. Make it interesting and something you like!
  • If you are stumped, check out ceramic magazines, posters, textbooks, or your Top 5 worksheet!
  • Fill out the plan & design sheet on back and complete 3 sketches for each.
  • Can turn in each plan separate or together.
  • If you change your mind, you MUST submit a NEW plan & designs.
  • Hard project will receive higher grades than Easy projects. (Hard=A, Medium=A-, Easy=B+)

**Projects can become “harder” or “easier” based upon your plan.

These are your FINAL PROJECTS to turn in; MAKE THEM YOUR BEST!


Grading Criteria for Each Project (100 pts each):

Directions & Techniques (25 points): name & period; proposal submitted BEFORE starting & matches final project; follows specific project requirements; uses appropriate building techniques; showcases a high degree of technical challenge and difficulty

Composition & Creativity (25 points): final sculpture is highly developed, balanced, & unified; interesting from all angles; surface and texture are considered; showcases a high level of creativity, and a high degree of compositional development and risk-taking

Craftsmanship (25 points): high level of craftsmanship; everything (surfaces, details, connections/scoring & slipping) is done in a neat and clean manner; no extra marks, gashes, remnants, cracks, or lumps

Effort & Participation (25 points): student worked everyday for the entire period without a reminder; cleaned up adequately and at the appropriate time each day; took responsibility for their project, work area, and respected the projects and work areas of others; turned-in on time

~Final Exam Ceramics~

Projects DUE:

  • Greenware Due: May 16
  • Glazeware Due: May 23
Links to Project Ideas:
Ceramic Arts Daily: Lots of ideas here!
Birdhouse Pinterest Board
Ceramic Animals Pinterest Board
Ceramic Human Figure Pinterest Board
Ceramic Teapots Pinterest Board
Ceramic Architecture Pinterest Board
Ceramic Organics Pinterest Board
Ceramic Tips Pinterest Board
Ceramic Vases Pinterest Board
Ceramic Functional Piece Pinterest Board
Ceramic Abstract Sculpture Pinterest Board
Ceramic Bowls Pinterest Board
Print Friendly, PDF & Email

Ceramic Teapot

teapot Teapot by Kazem Arshi

 For my wheel throwers: making a teapot combines everything you’ve learned so far about using the wheel to throw clay. It’s a challenging exercise, and it may require several tries to get it right. Don’t give up! If you end up making a few nonfunctional teapots, you can always turn them into pieces of sculpture.

teapot9

 Teapot by Sticks & Stones Studio

Planning Your Teapot

Before you begin, decide on your desired teapot shape. It can be squat, tall, narrow, or cone-shaped. Make a simple drawing of the shape and outline the profile. Then sketch a lid. As you consider your ideas about a teapot, ask yourself:

  • Will the lid be flat or domed?
  • Will it rise out of the pot or sink into the opening?
  • What type of knob will it have – thrown or hand-built?
  • Does the lid shape complement the form?
  • Do you want to place the handle over the lid, on top of the shoulders of the pot – or on the side, opposite the spout?
  • What size spout complements the shape?
Post sketches to your blog!

teapot4

 Teapot by Marion Angelica

Making Your Teapot

teapot parts

10991385_10103309665620600_8543969071467075593_n

10994173_10103310745346820_1695107647393269597_n

teapots

Make sure you use the same clay for every part of your teapot: body, lid, spout, and handle. Throw or form these pieces all at the same time so that they will shrink at the same rate, fit together better, and the measurements will be more accurate. You can assemble the pieces at another time, but remember to cover them in plastic to keep them workable.

teapot3

 Teapot by T. Jeffreys

  • Throw or hand-build the body of the teapot.
  • Measure the diameter of the opening and create a flanged lid.
  • Pull or throw the handle. Shape it and allow it to stiffen.
  • Throw or hand-build the spout (and a few extras).
  • Let all pieces stiffen to leather-hard.
  • Trim or attach a foot ring on your pot before you attach the spout and handle.
  • Hold the spout against the side wall and adjust its fit.

teapot5

 Caravan Teapot by Pheasant

Note: Make sure the top of the spout is as high as or higher than the top of the pot. If the spout is too low, tea will spill out when the pot is filled.

teapot18

 “Lip Service Teapot” by Dixie Biggs

  • Trace around the spout on the wall.
  • Supporting the wall, cut a series of holes within the outline.
  • Smooth rough edges with a damp sponge.
  • Score and slip the base of the spout and the traced outline on the pot.
  • Press the two pieces firmly together and smooth around the join. You can reinforce the join with a thin coil and smooth it with your finger or the edge of a wooden tool.
  • Balance the placement of the handle.
  • Score, slip, and join the handle to the pot.
  • Let your teapot dry slowly with the lid in place.

16638097178_7c52851ec3_k

Teapot by Ms. Long – lid also doubles as a tea cup!

Post your GREENWARE to your blog before turning it in to be fired.
  • Bisque fire, decorate, and glaze fire.

teapot8

 Teapot by Natalya Sots

More Teapot Ideas from Pinterest
How to Hand-build an Expressive Teapot Set Using Soft Slabs
How to Make an Inverted Strainer
The 30 Minute Teapot
Print Friendly, PDF & Email

Ceramic Series

bf4e4070d1f437d15dcdf312e4d2534a

f193d0752fa0bbcc888918df151550d2

f3c6d38d2c4a1371f4e1732df38e85e7

776a072f5db39ffb2e3db012012a0832

09963228fc3efbfd3b9abbcba6cca583

f63033f45292748163ab4186c76e64f7

gourley2004spondylosis1-copy

006_Dispositions, by Barbara Scavotto-Earlyceramic series

Project Requirements:

  1. Choose a basic form – organic, geometric, simple, or complex.
  2. Repeat this form in clay 6 times. Create 3 forms that have additive features and 3 forms that have subtractive features.
  3. Each form needs to be around 4 inches tall, nothing huge, nothing extremely small. Something that could fit in the palm of your hand would be ideal.
  4. Pay attention to craftsmanship and your 3 S’s (Score, Slip, Seal). Clean up your pieces; no clay burrs.
  5. Be creative!
  6. Create a sketch of your basic form and 3 additive ideas and 3 subtractive ideas. Post the sketches to your blog.
  7. Create your greenware and post to your blog.
  8. Glaze your bisqueware and post to your blog with the following answers to these questions:

(1) What did you learn during this project?
(2) How did you come up with your idea? What were your reasons you did what you did?
(3) Describe how your project idea evolved/changed from beginning to end. What changes did you make? Why did you make these changes?
(4) What did you do well during this project? Be specific in your answer.
(5) What could you have improved upon in the project? Be specific in your answer.
(6)What knowledge and/or experiences will you use from this experience to proceed with your next project?
(7)Rate your overall performance on the project from 1-10, 10 being the best, 1 being the worst. Why would you rate yourself at this level?

Print Friendly, PDF & Email

AP 3D Assignments

PDF version of slideshow below: CeramicsPresentation

Assignment: Figure

  • Use Coil Building or Hollowing a Solid Form
  • Use an emotive quality expressing a particular feeling OR express a quality of element about your family history
  • Must be 8 inches or taller
  • Identify your inspiration before beginning your project, make a sketch, and think about structural issues before beginning

Assignment: Vase or Tumbler

  • Vase: Focus on body of vessel, form, curve. Pay attention to the lip of the vessel, what is the intent, “Is it a flower vase? Does the mouth of the vessel accommodate a particular flower?” Trim foot, attach handle.
  • Tumbler: Focus on thin even walls, must be taller than 5 inches, pay attention to weight, this will hold liquid to drink – must be light. Trim foot, pay attention to lip.

Assignment: Slab Sculpture

  • Create slab sculpture over 10 inches in height.
  • Must have more than 5 visual planes.
  • Focus on both vertical and horizontal visual lines.
  • Can be abstract or have visual representation.
  • Be conscious of the joining of the slabs, must be seamless.

Assignment: Mugs

  • Create mug with open lip
  • Must have pulled handle
  • Create textural surface with impressions
  • Impression can be stamp, drawn, pressed
  • Pay attention to weight and foot

Assignment: Organic Coil

  • Create an organic shaped abstract sculpture
  • Can be a pedestal or wall piece
  • It must not be representational
  • It must be either 10 inches in height OR width
  • Create in sections and attach, you will want to build this in pieces and put it together as you go, be careful of the weight of the clay

Assignment: Pitcher or Candy Jar

  • Create a Pitcher with a spout and handle
  • Must be at least 8 inches in height
  • Must pour!!!!!!
  • Create Candy Jar with drop on or drop in lid
  • Must have mouth wide enough for cookies
  • Must have wide belly suitable for holding candy or cookies, pay attention to foot, consider altering
Print Friendly, PDF & Email

Expressive Face Vase!

face vase

For this project, you will create a vase using pinch, coil, or slab methods (or the wheel for advanced students) and on this vase, you will create a face showing massive expression! HUGE FEELINGS! Here is a diagram and on each line there is an emotion that gradually gets bigger as you go to the right. The right column is what we will be aiming for in expression! Show me some big feelings! I want to see some intensity in these works of art!

Intensity


Mitchell Grafton

Mitchell Grafton(<—CLICK ON HIS NAME!) is someone who creates pottery with big emotions and expressive faces. Here are some examples of his work below and on his website(<—CLICK ON THAT!).

Mitchell began his foray into pottery when he went to work for a potter when he was 19 and getting an Architecture degree. For 7 years, he learned from a professional potter and then worked for an interior design company designing lamps. After that, he found a business partner and opened a pottery studio, and now he owns his own pottery studio in Panama City, Florida, called Grafton Pottery.

Mitchell Grafton (11) Mitchell Grafton (12) Mitchell Grafton (26) Mitchell Grafton (29)


Another artist, thebigduluth has a gallery that shows off some of his new work on deviantart below.

Another artist: Evgeny Kivokurtsev

face mugs

Requirements:

  1. Vase needs to be at least 6 inches tall (8 inches for Pre-AP) and 3.5-4 inches wide.
  2. Face needs to show a big emotion & intensity!
  3. Pay attention to your craftsmanship and clean up those sharp edges!
  4. Name and class period on the bottom!
  5. Create 3 sketches and post them to your blog.
  6. Post Greenware to your blog.
  7. Post a glazed/painted finished piece to your blog and answer these questions:
    (1) What did you learn during this project?

    (2) Describe how your project evolved/changed from beginning to end. What changes did you make? Why did you make these changes?

    (3) What did you do well during this project? Be specific in your answer.

    (4) What could you have improved upon in this project? Be specific in your answer.

    (5) What knowledge and/or experiences will you use from this experience to proceed with your next project?

    (6) Rate your overall performance on the project from 1-10, 10 being the best, 1 being the worst. Why would you rate yourself at this level?

face vase1

face vase2

Helpful Links:
How to Make a Tall Slab Vase 
Video: How to Make a Slab Vase
My Ceramic Figures Pinterest Board <-- Lots of Face Ideas
Video: How to Make Face Mugs <-- How to make a face!

Print Friendly, PDF & Email

Most Realistic Food Contest

Exavier C Peyton GSara A

Today starts a new semester and a new project! We are going to have a contest to see who can make a sculpture of the most realistic food! Your goal is to create a dish, plate, bowl, takeout box, whatever container you need for your food out of clay using slab, pinch, and/or coil method, additive and subtractive, and add food items to create a dinner setting for one.  Your goal is to make the clay look like real food after it’s been glazed, painted, and/or stained.  Here are some examples below that I grabbed off the web.

Food must be hollow, nothing thicker than 1 inch or it may break or blow up in the kiln. Hollow forms need a vent hole – don’t forget!

Score, Slip, and Seal!!!  Make sure you are attaching your parts together well so they do not fall apart. Do NOT underestimate the power of scoring, slipping, and sealing! Do it, and do it well!

It can be a main dish, a dessert, a side dish, breakfast, lunch, or dinner. The only requirement is that it is something you would eat. Think about your favorite foods! Think about your skill level and what you can do well with clay and go from there. Use any technique: coil, slab, and/or pinch. Or, if you want to challenge yourself, think about areas in your clay work that need improving and work on that.

If you are in Ceramics 3 and want to work on the wheel for this project, you may.  You may hand-build, as well, or mix the two methods together.

The food needs to be life-size or close to it.

Don’t forget to pay attention to the surface texture and make it match what you are trying to make.

Take a picture of dinner tonight or find something on the web that you can use as a photo reference to make your food look super realistic.

Let’s do this! Remember to have fun!

3 Sketches Due: Wednesday, Jan. 25, 2017

Greenware Due: Monday, Feb. 6, 2017

Some Additional Links:
Making Ceramic Plates on the Wheel
Making Ceramic Plates from Slabs
Print Friendly, PDF & Email

Twenty Ways to Fail Art

  1. Be afraid of new things.
  2. Be late to class.
  3. Blame it on a lack of talent.
  4. Do as little as you can.
  5. Don’t ask questions.
  6. Don’t even try.
  7. Have someone else do your work.
  8. Ignore instructions.
  9. Ignore people who know more than you.
  10. Imagine that you will get better without practice.
  11. Keep your ideas to yourself.
  12. Let other students tell you what’s good.
  13. Make excuses.
  14. Make no mistakes.
  15. Miss class and don’t make up the work.
  16. Never fail.
  17. Perfect it all.
  18. Sit perfectly still and never make a sound.
  19. Spend as much time as possible talking with your friends and looking at your phone.
  20. Stick to what you are good at.


Print Friendly, PDF & Email